Deborah R. Fowler
Bend Lines Illusion
Posted March 22 2019
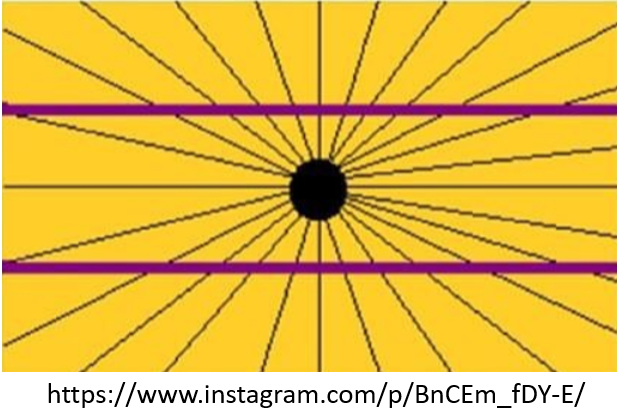
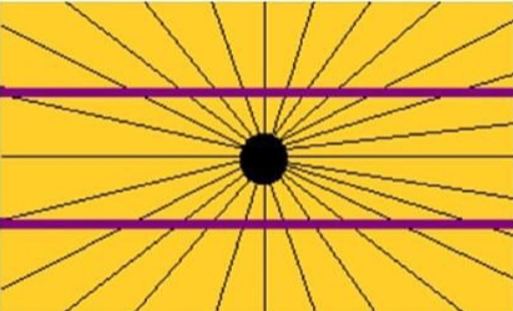
Recently on Instagram I saw a post about a bending line optical illusion. This of course led me to Houdini to try it out, and in particular, use this as a gentle introduction to hscript, then point wrangle.
Method 1: My first approach lends itself easily to proceduralism and the copy node.
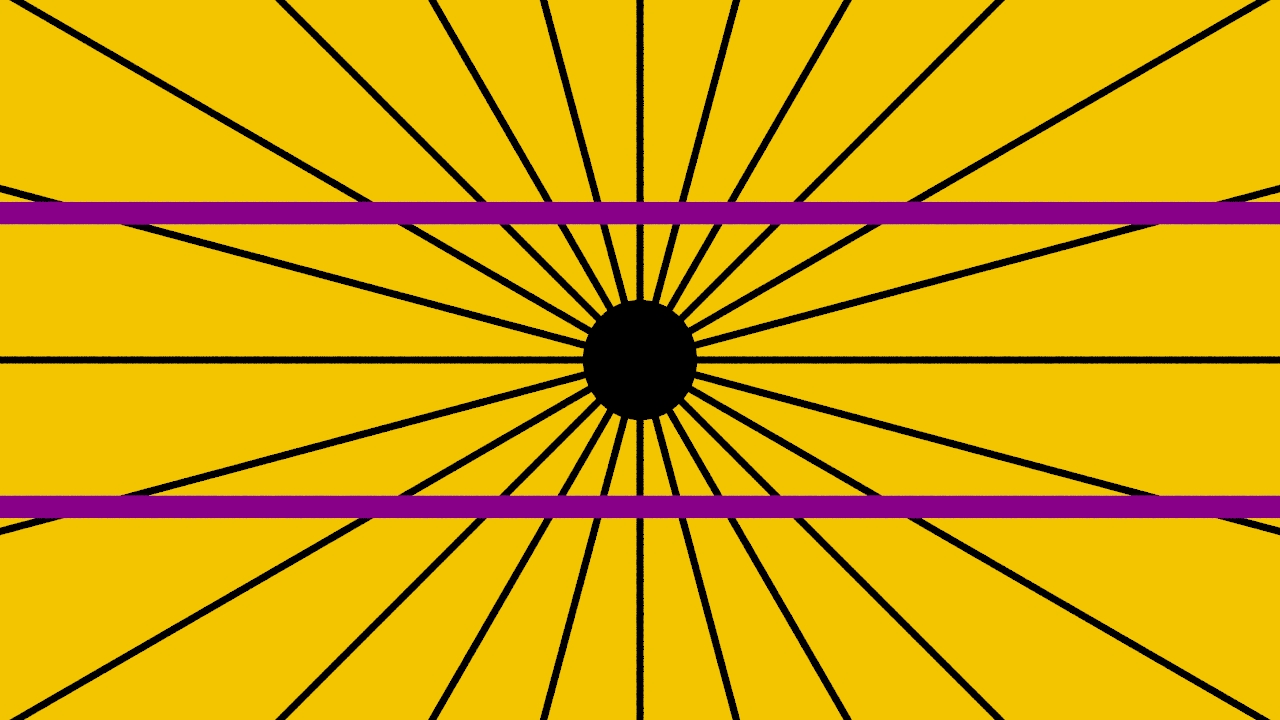
With the use of a circle, line and copy node this is resolved quickly. However if you look at the source it is not quite accurate.
In fact, in the original image the angles subtended by the lines are not equal and the lines are not symmetric. For example on the upper right quadrant between the horizontal and vertical reference lines are 6 lines, on the left only 5. Similarly in the lower quadrants.
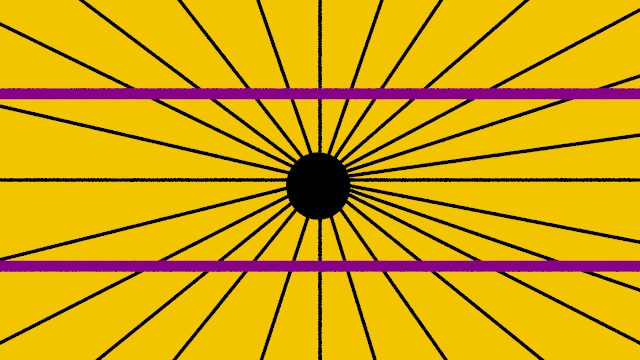
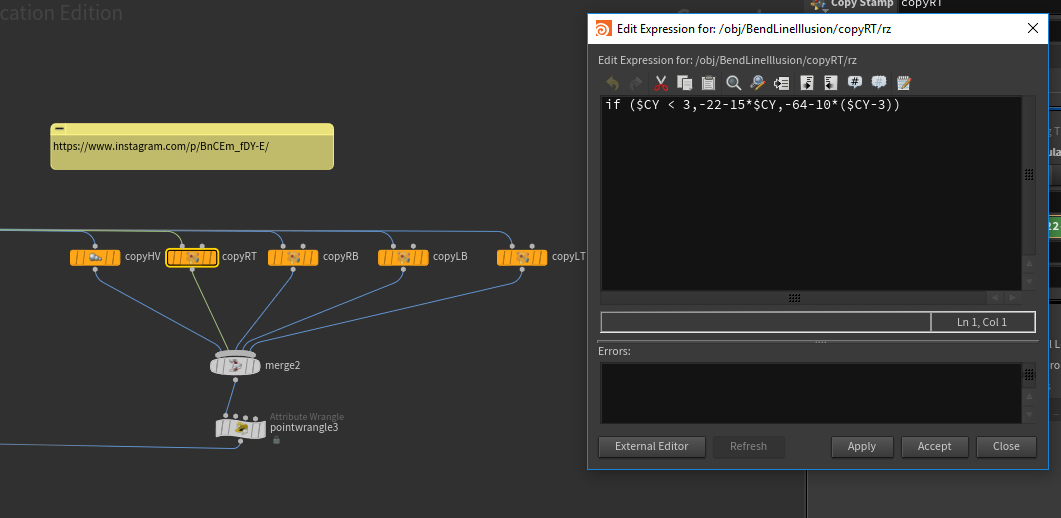
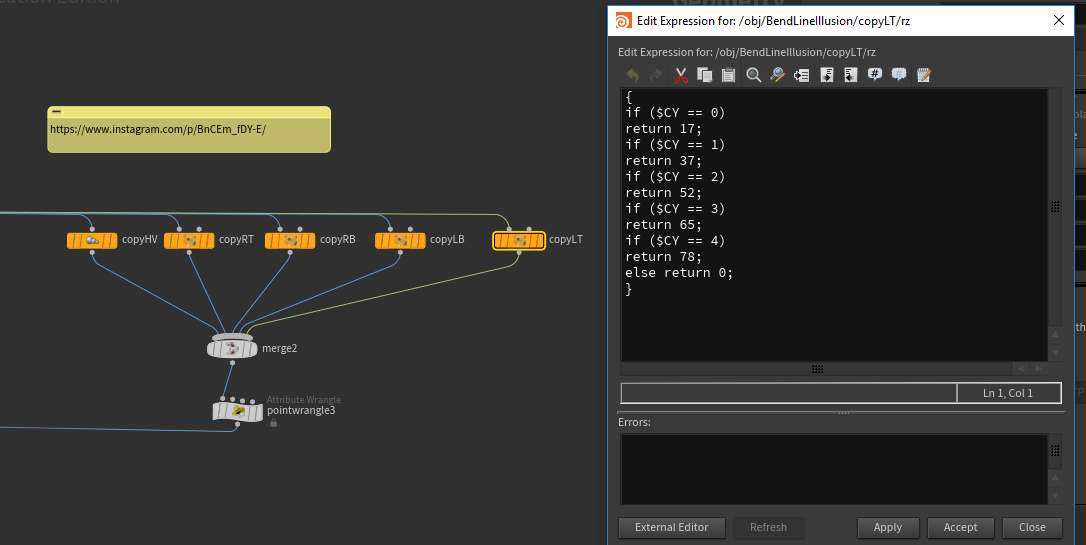
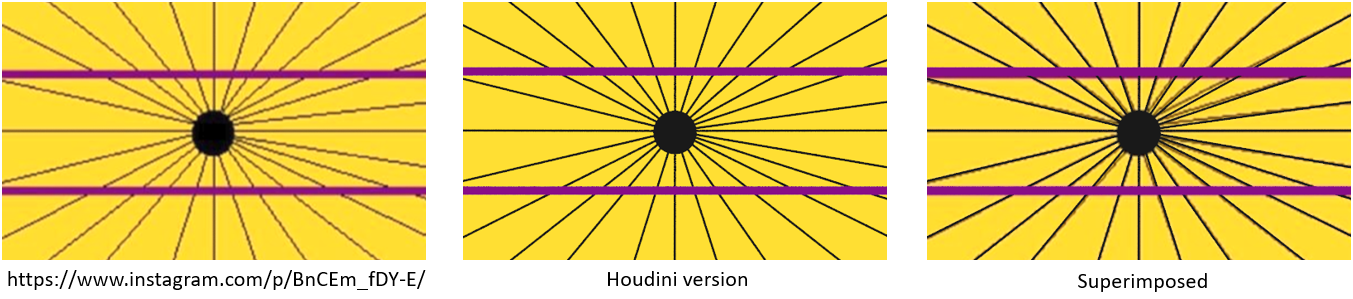
Method 2: was to use if statements in hscript to add these variations which works well. Pictured below left is the version from Method 2 and below right is the render superimposed on the original image.

However, I wanted to replace the clunky if statements I used in hscript with elegant vex expressions.
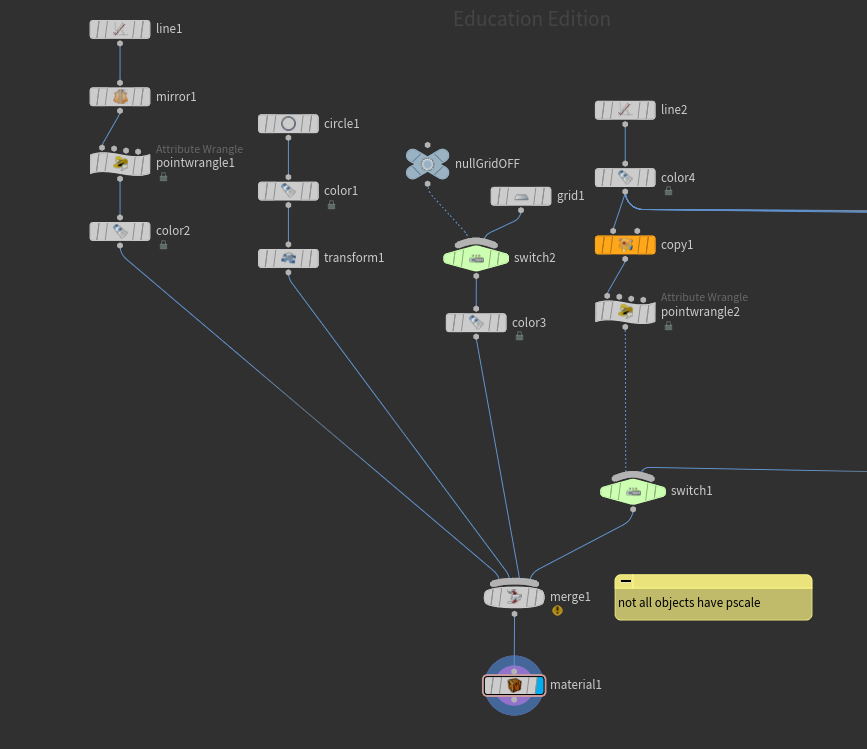
This lead me to the question of how can I easily create the lines artistically? It would be handy to just poke on a point and have the application take care of drawing the line from the center to the point - thus groups and add nodes were used (see Spokes wrangle example).
Method 3:
- drawing a curve
- deleting all but the points (add)
- then grouping the origin with each point (pointwrangle)
- adjusting the size of the line (pointwrangle)
Now that you have the overview, let's step thru it for beginning Houdini users.
Method 1 and 2 can be found in the hipnc file titled opticalBend.hipnc
(if you want to use the image in the camera download BendLineCenter.PNG)
Method 2 uses a collection of if statements in each quadrant. It
works, but a more elegant solution can be seen in Method 3 with a
point wrangle node.
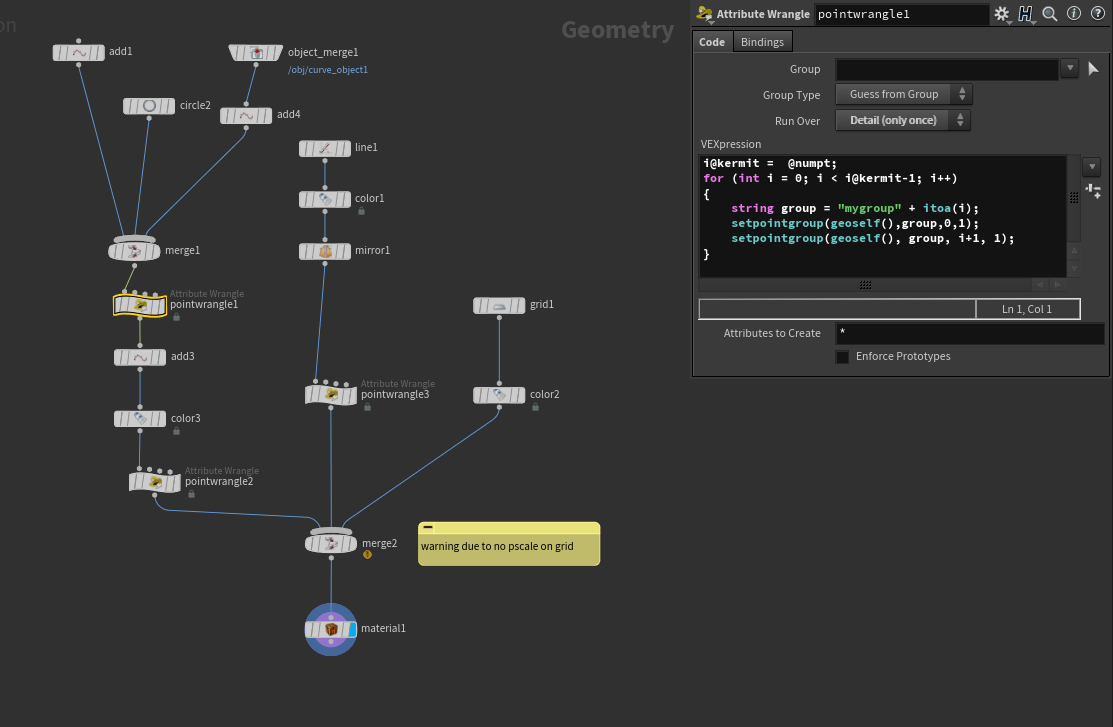
Method 3: In the file spokesBendLine.hipnc
(images is BendLine.PNG
to see original texture) the approach described above was used by
drawing a curve, deleting all but the points, grouping the origin
with each point and adjusting the size of the line (with
pointwrangles of course).
In this case the image was projected onto a grid (we could have
used it as a background camera image but this allows easy
adjustment to center the image).
In this method, it is similar the previous two, however it allows
us to quickly add the connecting points
- BrainDen.com and in particular line illusions.
- http://www.psy.ritsumei.ac.jp/~akitaoka/index-e.html (website of Akiyoshi Kitaoka, Professor, Department of Psychology, Ritsumeikan University, Kyoto, Japan)
- google optical illusions