Deborah R. Fowler
RBD | Bullet Basics
Posted: 2013 Updated: July 9 2024
If you have forgotten the rules of physics you may want a Physics Review
Starting with the shelf tool, if you take a sphere and make it into an RBD object, this will create a dopnet. The dopnet can be thought of as a calculator that given the object and forces, it "solves" where the sphere will be at the next time step. Similar to the documentation, this pdf outlines the anatomy of dynamics in Houdini.
Try a simple solver:
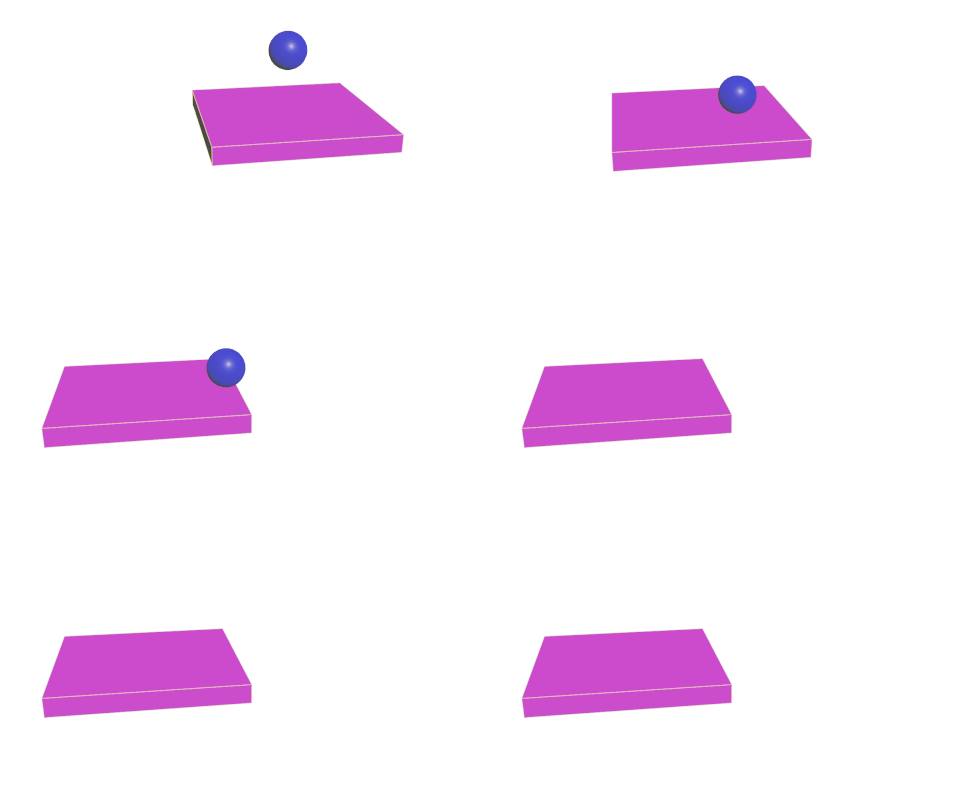
create a sphere, inside the geometry container add a Solver node, connect the sphere as the first input and inside the solver add a transform node with 0 1 0 and connect it to Prev_Frame
The solver keeps track of the previous position and adds 1 in y. This differs from a transform node at the sop level which simply sets it to 1.
sopSolver.hipnc
The recommended solver to calculate RBD is the bullet solver due to its speed. However, in order to be fast, bullet make some assumptions. Most obvious is with collision objects.
Convex hulls for everything is default and collision padding is added. This makes the bullet solver excellent for using with scenes of massive destruction. If you would like more background I highly recommend Mike Seymour's Dec 2011 article titled "Art of Destruction".
The bullet solver is used to simulate a rigid body and makes two assumptions regarding collisions to be more efficient:
- convex hulls - essentially everything can be "shrink wrapped"
- collision padding - may be added (CLICK HERE FOR MORE EXPLANATION)
The above hip file shows a sphere and a box. Start with this and create a static object (under Collisions tab) and an RBD object (under Rigid Body tab). You will notice that that sphere stops at the opening to the box. Why? Because bullet assumes collision object are convex. There are two ways to get around this - break up the pieces into convex shapes (so for a building destruction this may be worth it), or use the concave selection on the collision.
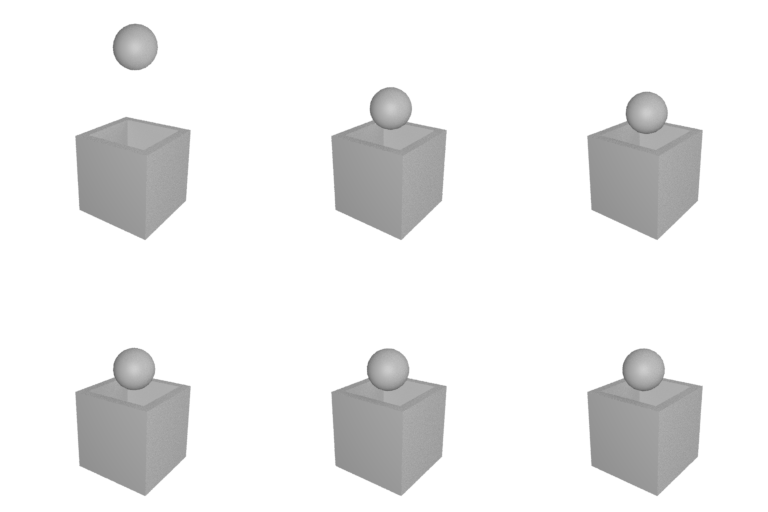
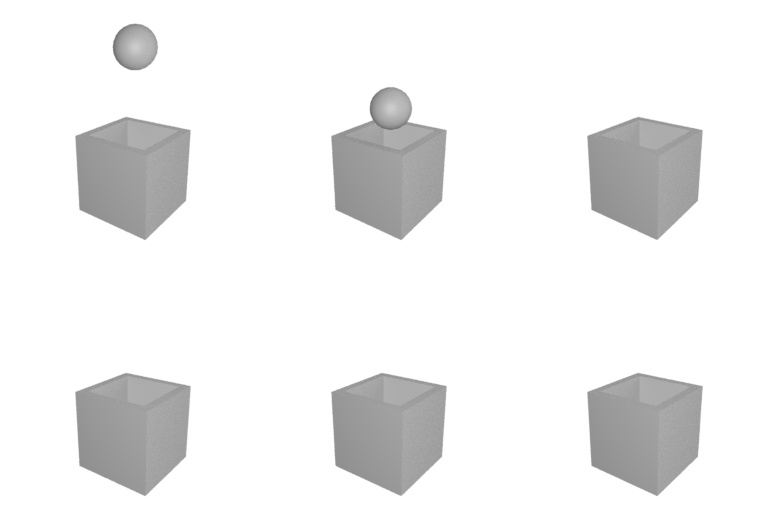
There is more information on the bullet solver, but for now we will move on to the node most useful for layout which is the RBD instanced object. You can display your collision geometry but do not leave that display on when you are simming or it will slow things down.
RBD for Layout including rendering using Redshift/Mantra/Karma and simming to points using transform pieces
Also on youtube at https://youtu.be/bFtT3hqBuJI
RBD Instanced Objects (CLICK image below for examples)
This is similar to the concept in sops of a copy or instance. The RBD Instancing Node takes points and instances objects on those points. In the dop the objects act like individuals. Examples are given below.
Examples:
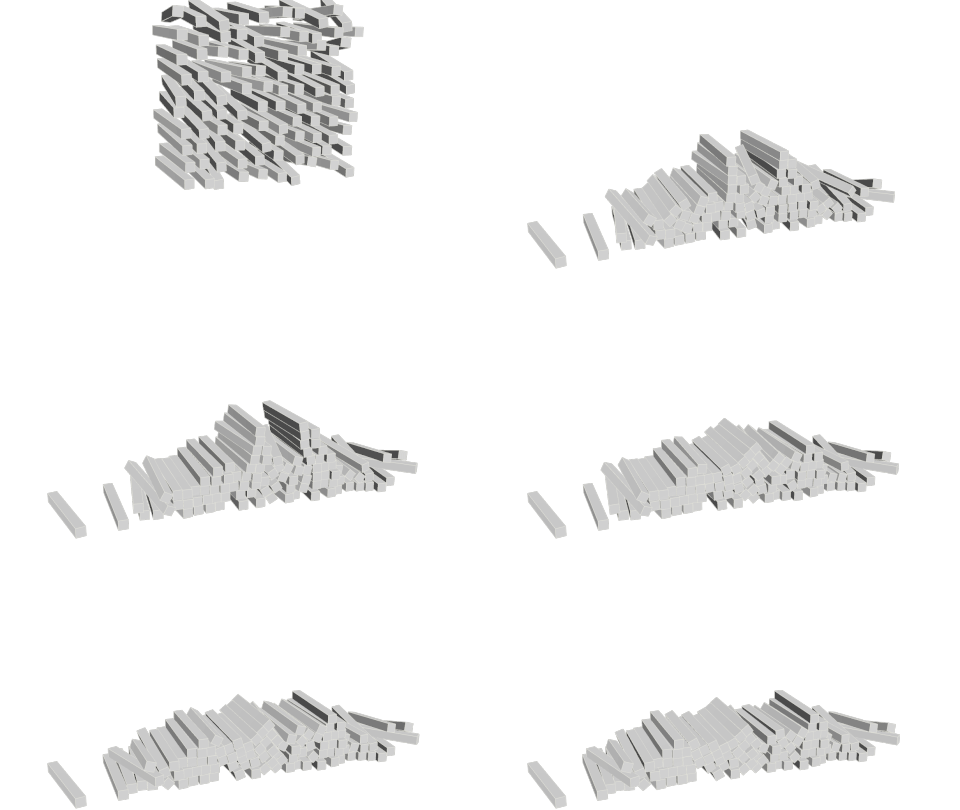

 simple example of spheres
dropping on the ground exampleRBDInstancedH18.hipnc
 example of jelly beans falling on a plate
- introduces caching
for layout purposes jellyPileH18.hipnc
example of jelly beans falling on a plate
- introduces caching
for layout purposes jellyPileH18.hipncexample of filling a container rbdFillPillBottleH18.hipnc
AND DOP's copy objects
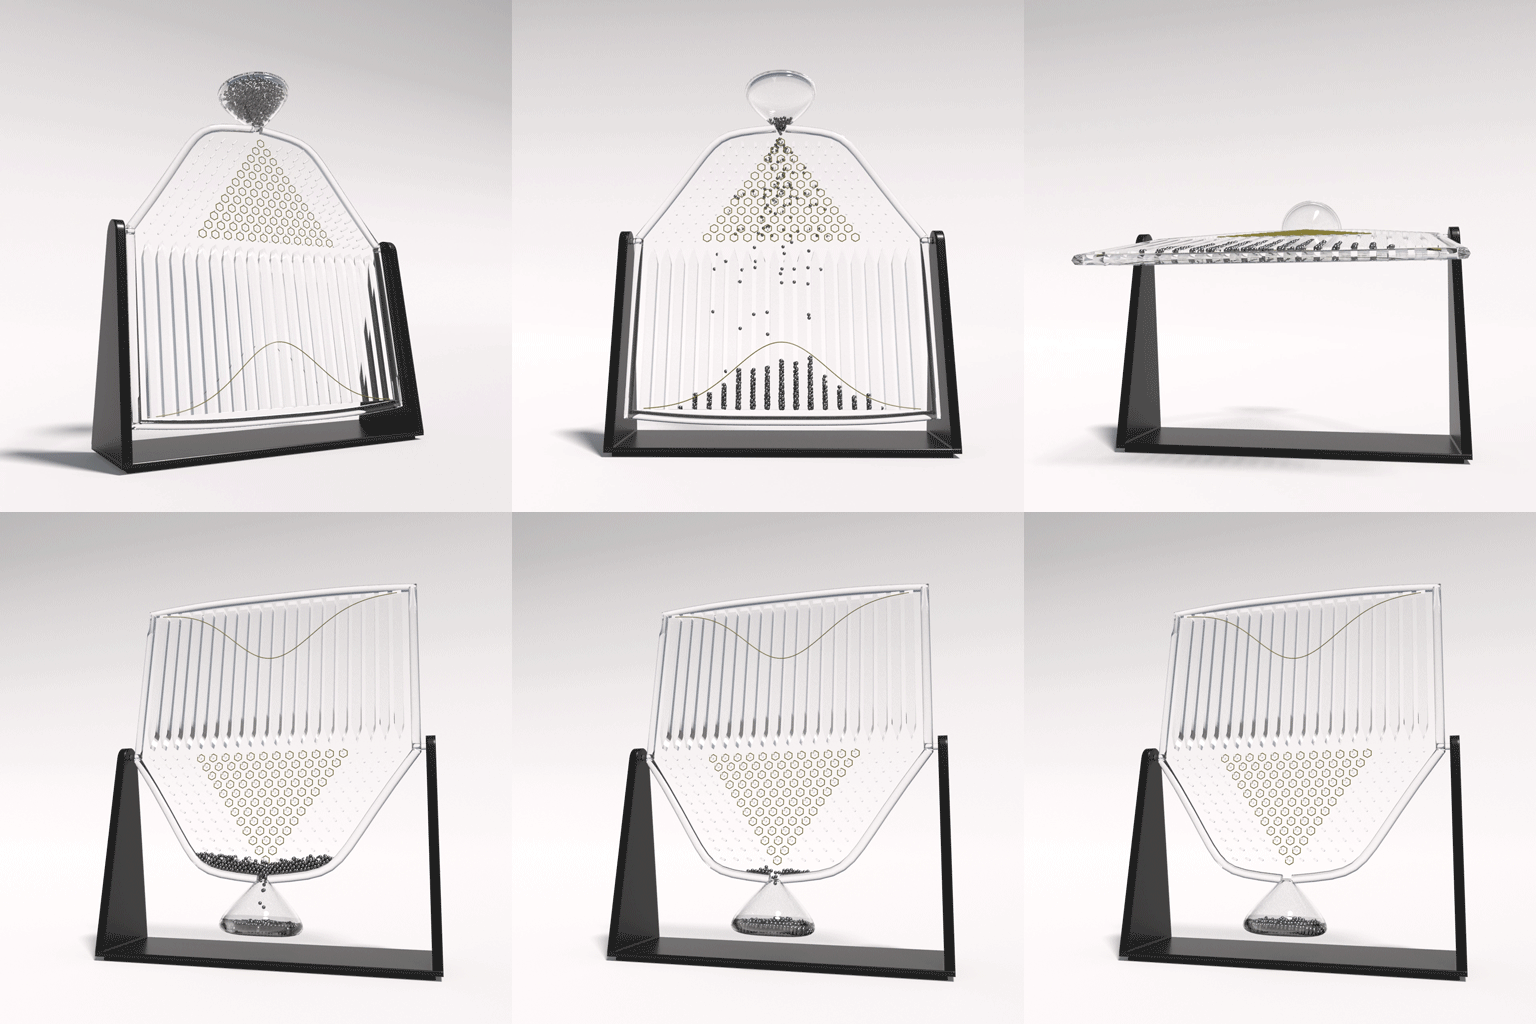
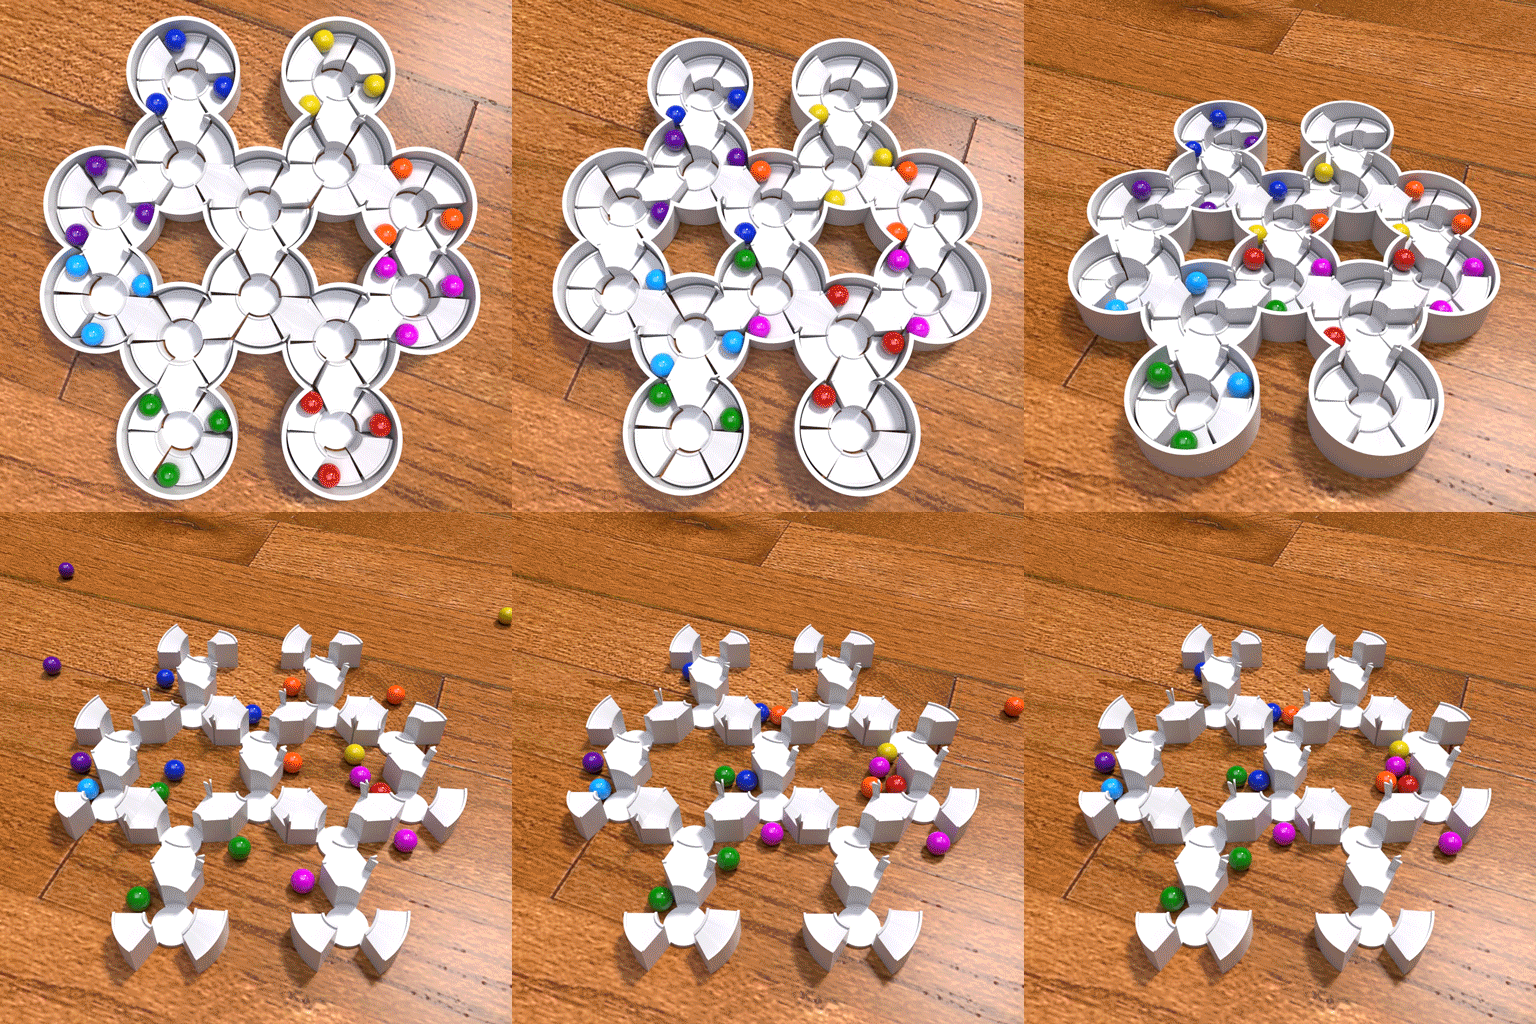
Here are a few examples of using the bullet solver and brief descriptions here and here
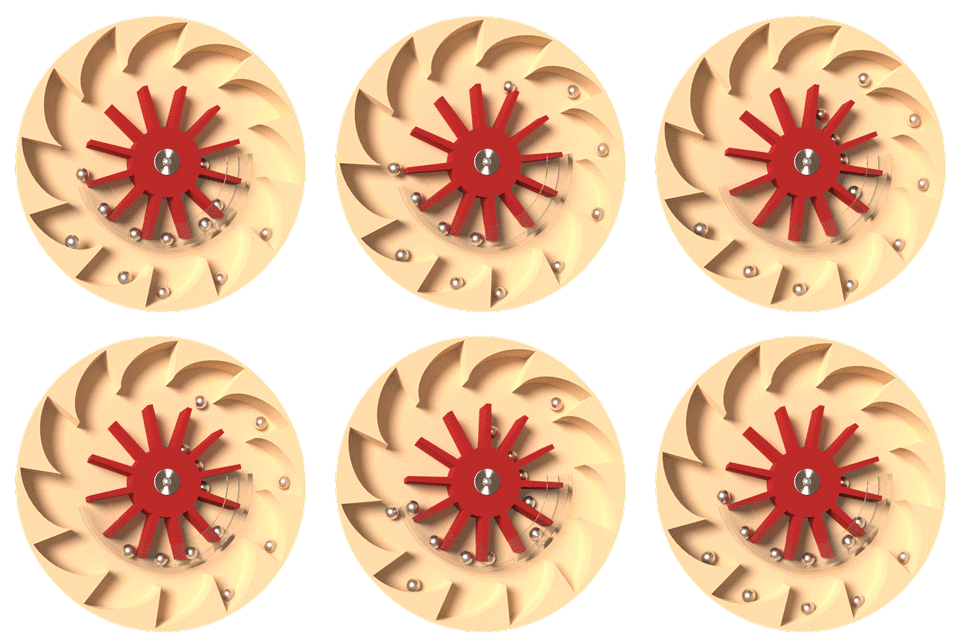
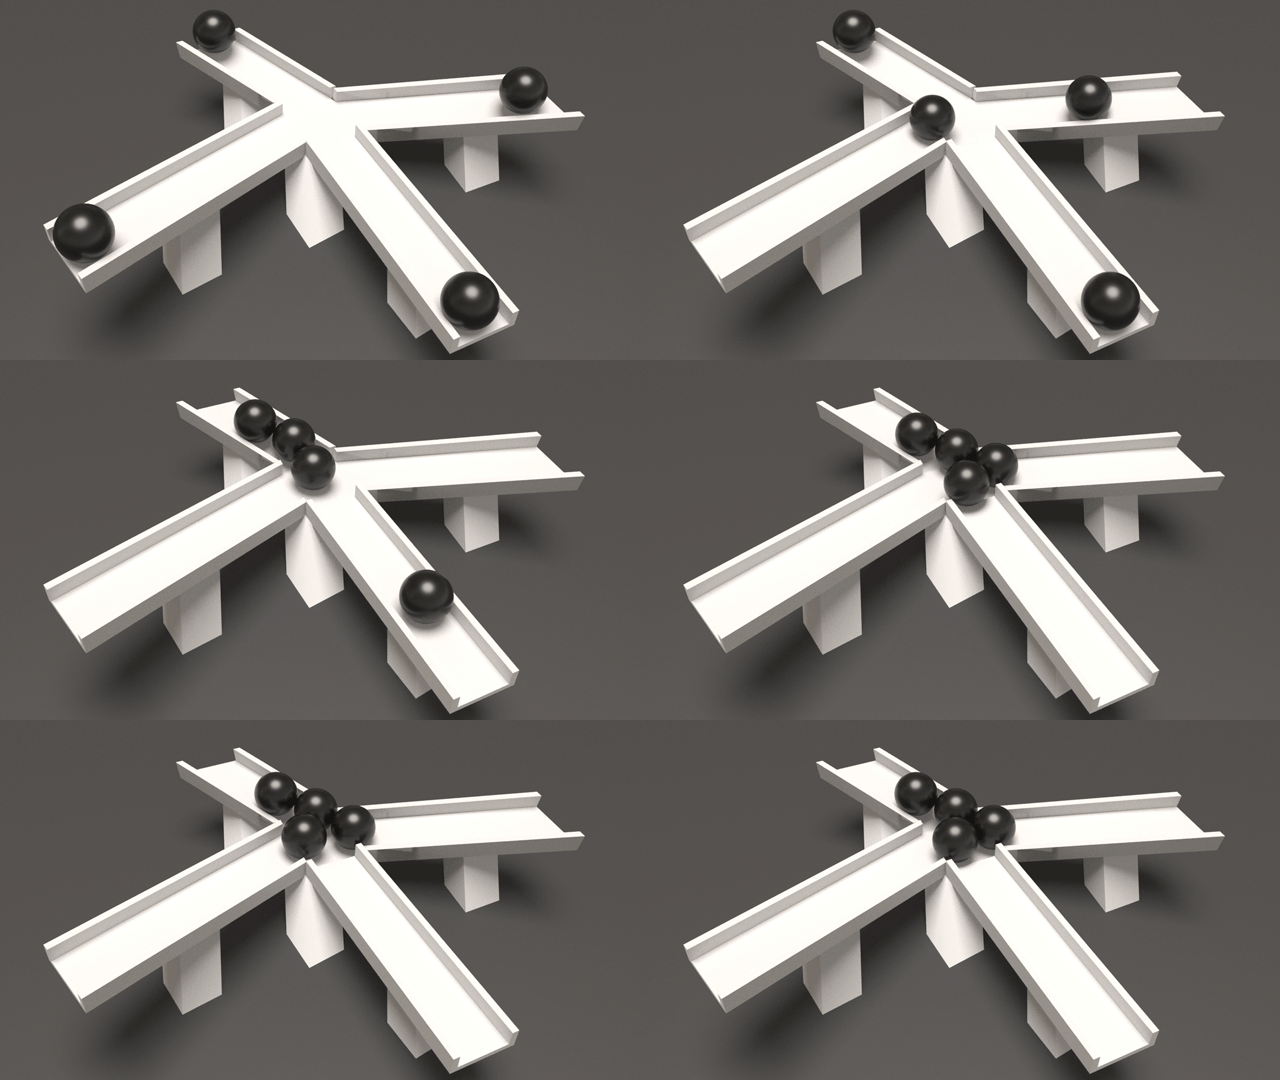
An example of a static object turned into a deforming and active object (two checkboxes)
deformAndActive.hipnc
