Deborah R. Fowler
ffmpeg
Posted on Dec 2 2018Updated on Dec 17 2018
Added section on adding sound on Jan 9 2021
Update compiling an mp4 or avi on April 23 2021
Update added simple python scripts May 21 2021 and June 12 and June 18
Update added h264rgb to get better color match Aug 12 2021
Update ffplay Sept 12 2021
Update getting rid of banding on vimeo Dec 10 2021
Update on codecs on Jan 7 2022
Update on webp file format on Dec 8 2023
ffmpeg - you can use command line to assemble your frames and make gifs!
See documentation for full details.
Also useful is https://trac.ffmpeg.org/wiki/ and in particular https://trac.ffmpeg.org/wiki/Encode/H.264
Here are some tips I found useful while using ffmpeg on Windows (from cmd window). ffmpeg is on linux but can be installed on your home computer
If you are looking for a utility for metadata manipulation I would recommend exiftool
MAKING GIFS or WEBP
ffmpeg.exe -i inputFilename.mov test.gif
ffmpeg -y -i file.mp4 -vf palettegen palette.png
ffmpeg -y -i file.mp4 -i palette.png -filter_complex paletteuse -r 15 -s 320x569 file.gif
You can also go straight from frames to gif:
ffmpeg -i filename.%04d.png output.gif
BETTER 12/08/2023 - use the file format webp if you need the transparency to correctly be used on browser, adding -loop 0 will create continuous animation like a gif (defaults to 1)
ffmpeg -i filename.%04d.png -loop 0 output.webp
python script here (3.8 and Windows)
STRIPPING OFF SOUND
https://superuser.com/questions/1080582/how-to-completely-remove-audio-channels-from-video
ffmpeg -i videoAndAudio.mp4 -c copy -an onlyVideo.mp4
-i path/to/input_file: give the path to your file
-c copy: tell FFmpeg to copy codecs (prevent transcoding)
-an: disables audio
MAKING A VIDEO
ffmpeg -i comp.%04d.exr -r 30 output.mp4
Be careful as your exr are probably not in the correct gamma if you have saved from mplay or rendered them out. To fix this use:
ffmpeg -r 30 -i comp.%04d.exr -vf lutrgb=r=gammaval(0.45454545):g=gammaval(0.45454545):b=gammaval(0.45454545) output.mp4
It appears ffmpeg uses H264 by default, however you can adjust quality. You can also use apple prores (not included here)
You can add -s 1920x1080
You can also use: -c:v libx264 -preset veryslow -crf 18 (better quality but bigger file)
UPDATE: Following other examples I had been using -r 30 after the files. This was giving incorrect behavior. On a 240 frame animation at 30fps the results should be 8 seconds. Preceding the images with -r 30 worked. (if it was after it results in 9 seconds - weird).
You can also use this command to create a lossless avi and compress in handbrake. If you click on the image below the python3 script can be used to create a mp4 and an avi as an example.
If you sequence does not start at 1, you can use -start_number X where X is the start frame at the front of the line
In addition, you can specify how long with -t X where X is not a frame number, but the duration in seconds
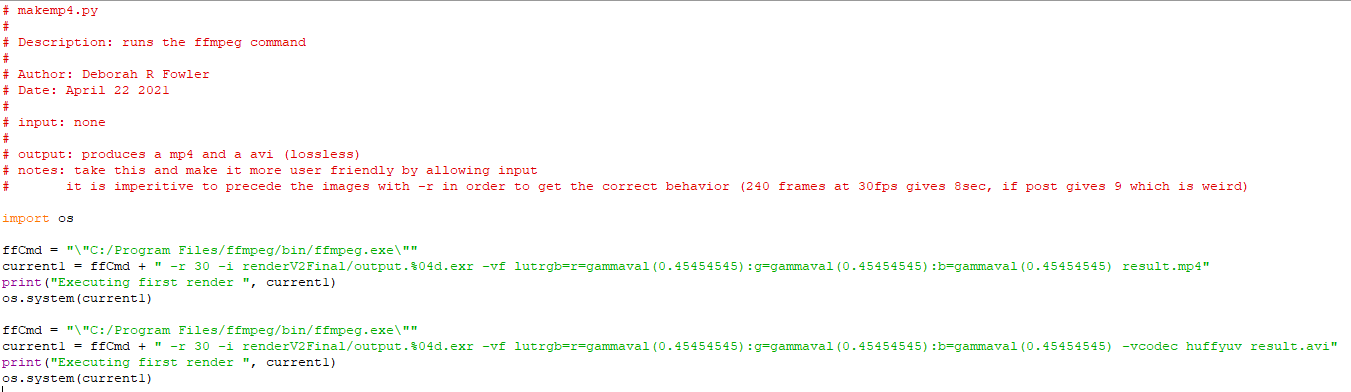
python script here (3.8 and Windows) or click on image above for python script
See below for how to get rid of banding on vimeo and also a discussion about color accuracy
COMBINING VIDEOS
You can use ffmeg to combine two avis using concat for example below I created two avi files and then combined them
(Extending a start or end) If you want to repeat a frame -loop 1 works well

Click on image above for python script
The file mylist.txt consists of a list of files in the form
file 'result1.avi'
file 'result2.avi
MAKING AN mp4 from an avi
If you are disappointed in the color accuracy of 264 you can try 264rgb to encode your mp4. Youtube and Vimeo respect the format (instagram does not recognize it), however youtube and vimeo do not necessarily give a good match. See reduce banding below for an even better method.

Click on image above for python script
NOTE: Jan 7 / 2022 I noticed using huffyuv and avi and going straight to mp4 on one specific project caused a noticeable color change. Going straight to mp4 was truer to the rendered image using the method below.
Image below shows rendered exr, and snap of mp4 created using either handbrake from the avi above or from ffmpeg with = ffCmd + " -i resultC.avi -c:v libx264 -preset veryslow -crf 0 -tune film outputC.mp4" and finally the new method.
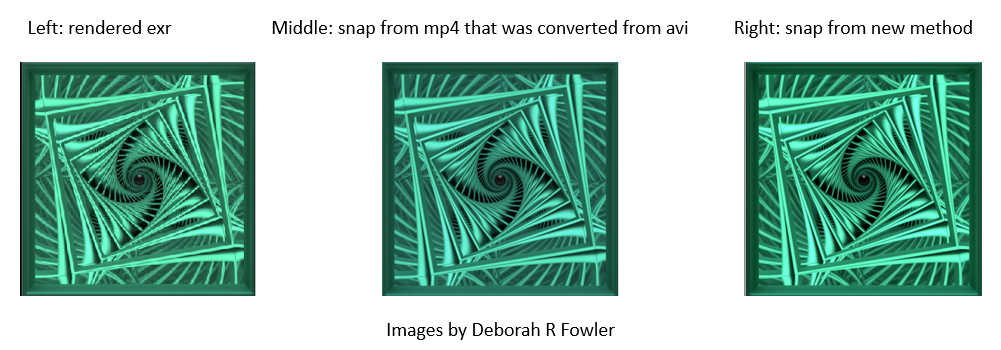
However, uploading the mp4 produced with h264 and shown on the right resulted in much the same color inaccuracy on Vimeo (upload looked like the middle snap) demonstrating the somewhat illusive color accuracy of video compilation.
Diving a tiny bit further, likely has to do with the metadata instructions for color transfer - there is more to it of course and you can explore https://trac.ffmpeg.org/wiki/colorspace
To get reasonable results on vimeo since I was unhappy with the blueish result that I did not design, I went with libx264rgb as noted above. It is a bigger topic to explore - each project varies. Manipulating the raw video images did not resolve the issue.

By the way, if you lines are getting long in ffmpeg you can use a \ character before a flag to make it multi-line. I would recommend libx264 for most cases, there is the rare case like the one above that warrants libx264rgb.

Click on image above for python script
REDUCE BANDING
Faced with the problem of banding, this time from handbrake I decided to try ffmpeg once more - here's what worked for me - greatly reduced banding artifacts
result.avi as in the above script. You can also go straight from files to output.mp4 - see my NOTE dated Jan 7 / 2022.

PLAYING AN avi file (my version of vlc will no longer play avi's created as above)
In a cmd window, cd to the directory where the avi is located and use ffplay -fs resultBoth.avi
EXTENDING A FRAME
If you want to repeat a frame -loop 1 works well. In the following example, I extended the start and end frame.

Click on image above for python script
CROPPING A VIDEO
To crop the bottom and top by 10 pixels:
ffmpeg -i input.mp4 -filter:v "crop=in_w:in_h-20" -c:a copy out.mp4
https://askubuntu.com/questions/598324/convert-a-video-to-a-fixed-screen-size-by-cropping-and-resizing
ADDING SOUND
I had a video that was already h264 and did not want to re-encode so I went to ffmpeg to add sound. Google led me to a forum post at https://superuser.com/questions/590201/add-audio-to-video-using-ffmpeg and since I was using a wav file which I created in Camtasia I used the second entry in the answers. Worked like a charm!
ffmpeg -i UntitledOther.mp4 -i RubicsSound.wav -c:v copy -map 0:v:0 -map 1:a:0 -c:a aac -b:a 192k output.mp4
As described on the forum we are copying the sound and re-encoding the audio stream with at built-in AAC (Advanced Audio Coding) encoder at 192kBit/s. If it was an mp3 that flag wouldn't be necessary. Since my sound was wav I can verify the above worked flawlessly on Windows 10 cmd.